Managing Cameras
Once cameras are connected, the Video Management → Cameras page is where you organise them: group them by site or purpose, rename them, adjust their settings and remove the ones you no longer need.
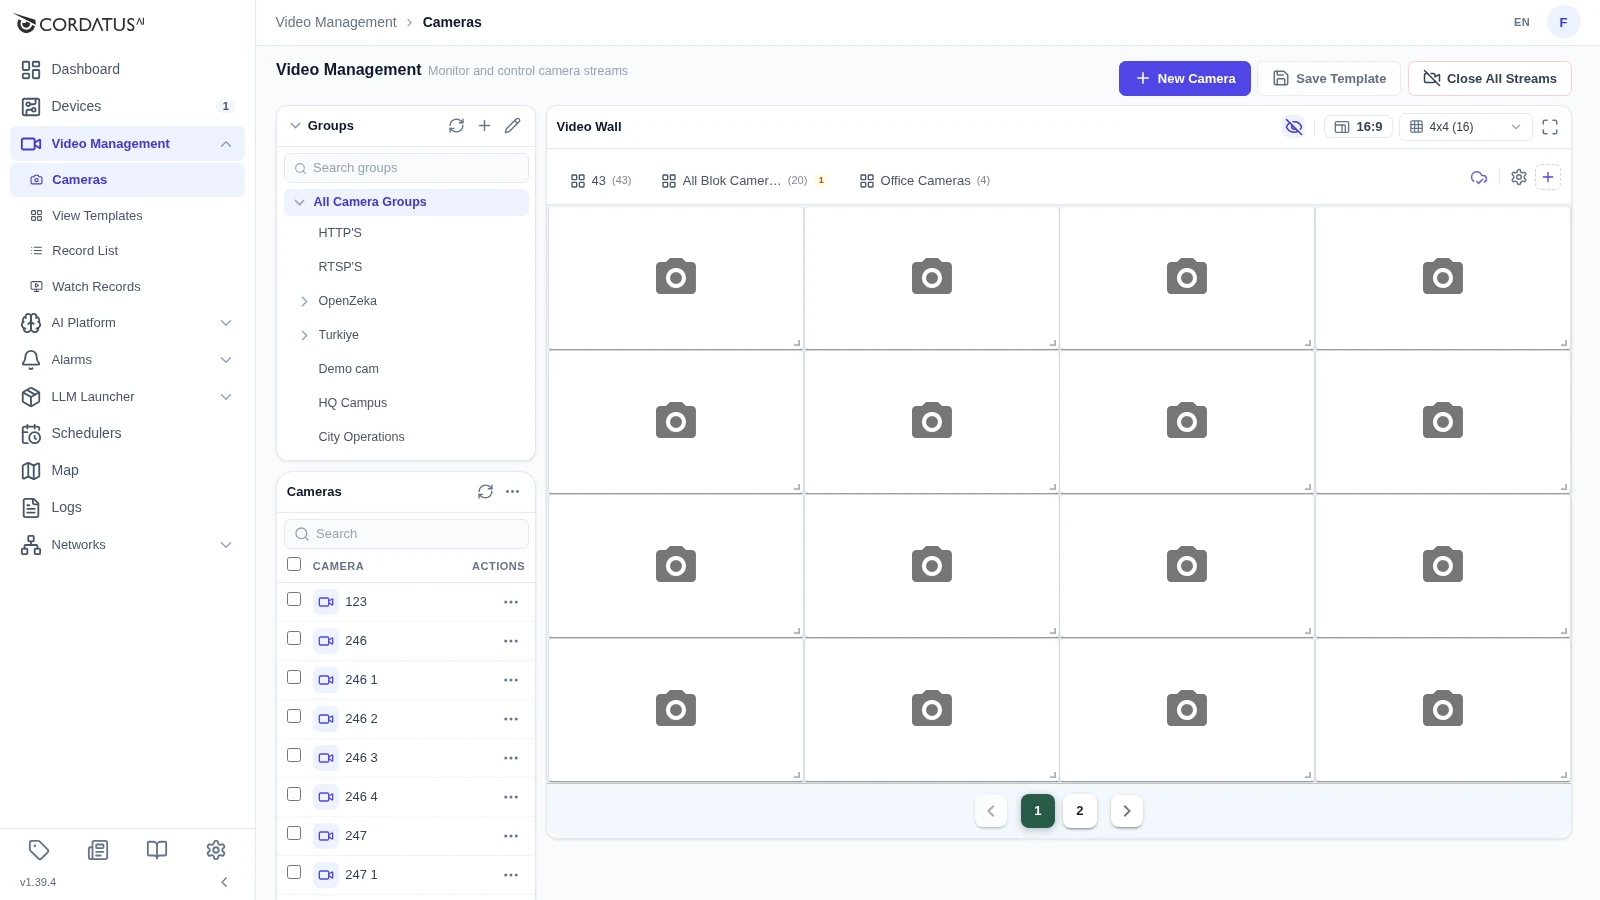
Camera Groups
Groups keep large camera estates manageable. A group can contain cameras and other groups, so you can mirror your real-world structure — for example HQ Campus → Parking or City Operations → Junctions. Selecting a group filters the camera list underneath it, and the camera list header then shows the group name.
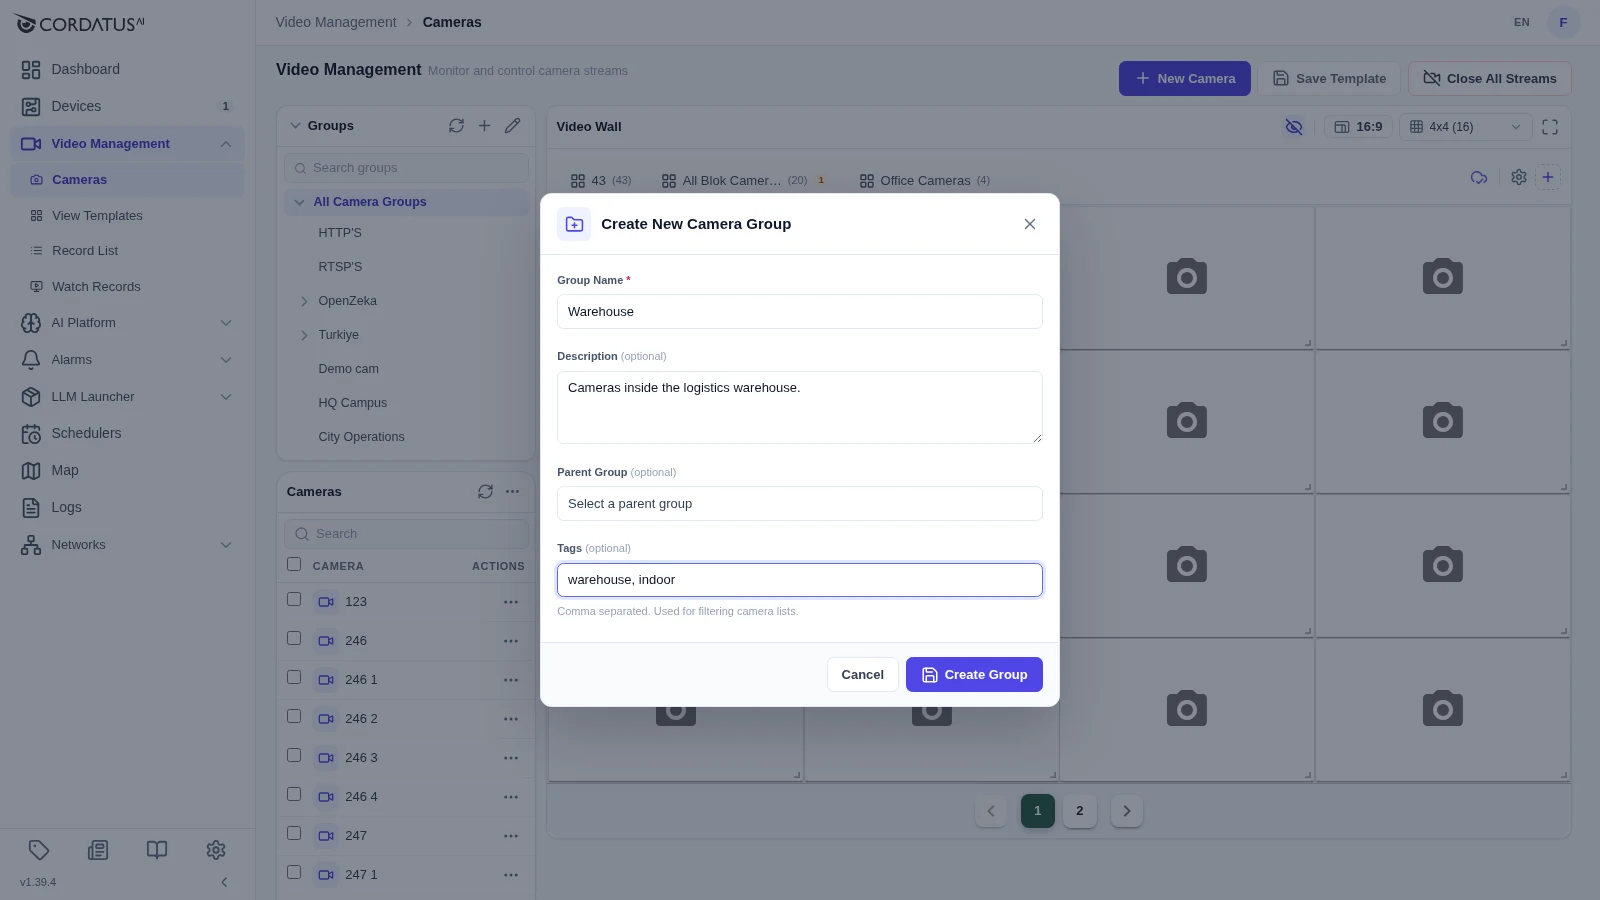
Creating a Group
- Click the + icon in the Groups panel header.
- Enter a Group Name.
- (Optional) Add a Description so colleagues know what belongs in the group.
- (Optional) Choose a Parent Group to nest the new group inside an existing one.
- (Optional) Add comma-separated Tags; they are used when filtering camera lists.
- Click Create Group.
Name groups after places or responsibilities, not after camera models — "Loading Docks" is far more useful on a busy wall than "Dahua-4MP".
Assigning Cameras to Groups
- Click the pencil icon in the Groups panel header to open the Editing Groups screen.
- Select a group in the Group Hierarchy panel on the left. Its cameras appear in the middle panel.
- Drag cameras from the Cameras panel on the right into the middle panel to add them to the group. Drag them back to remove them.
- Click Save Group.
- Use Back to Cameras when you are done.
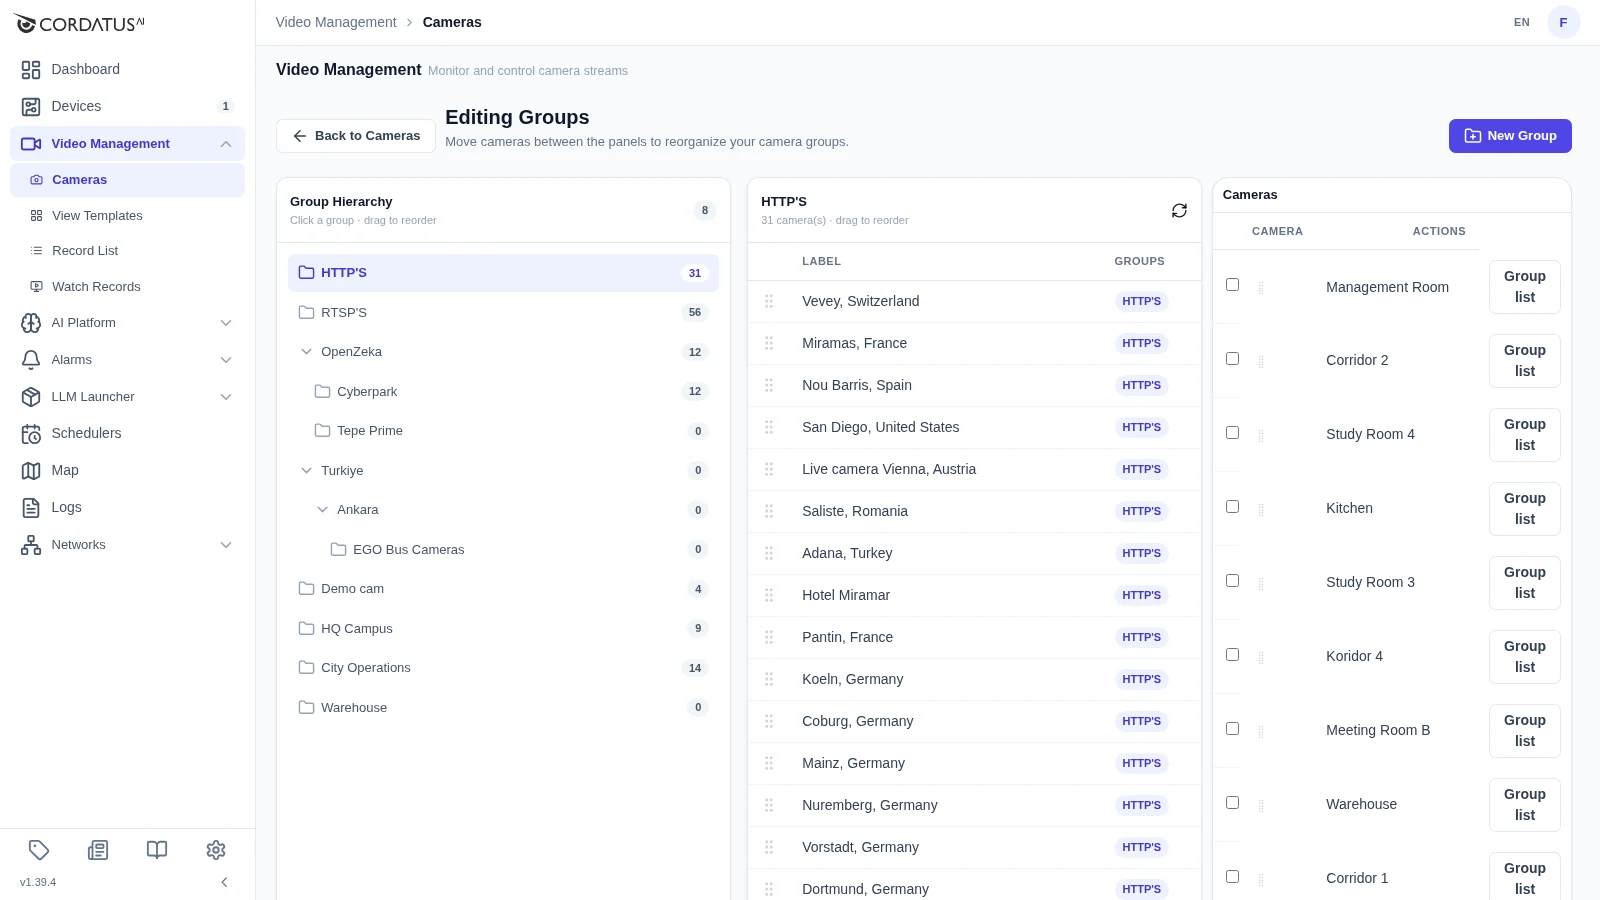
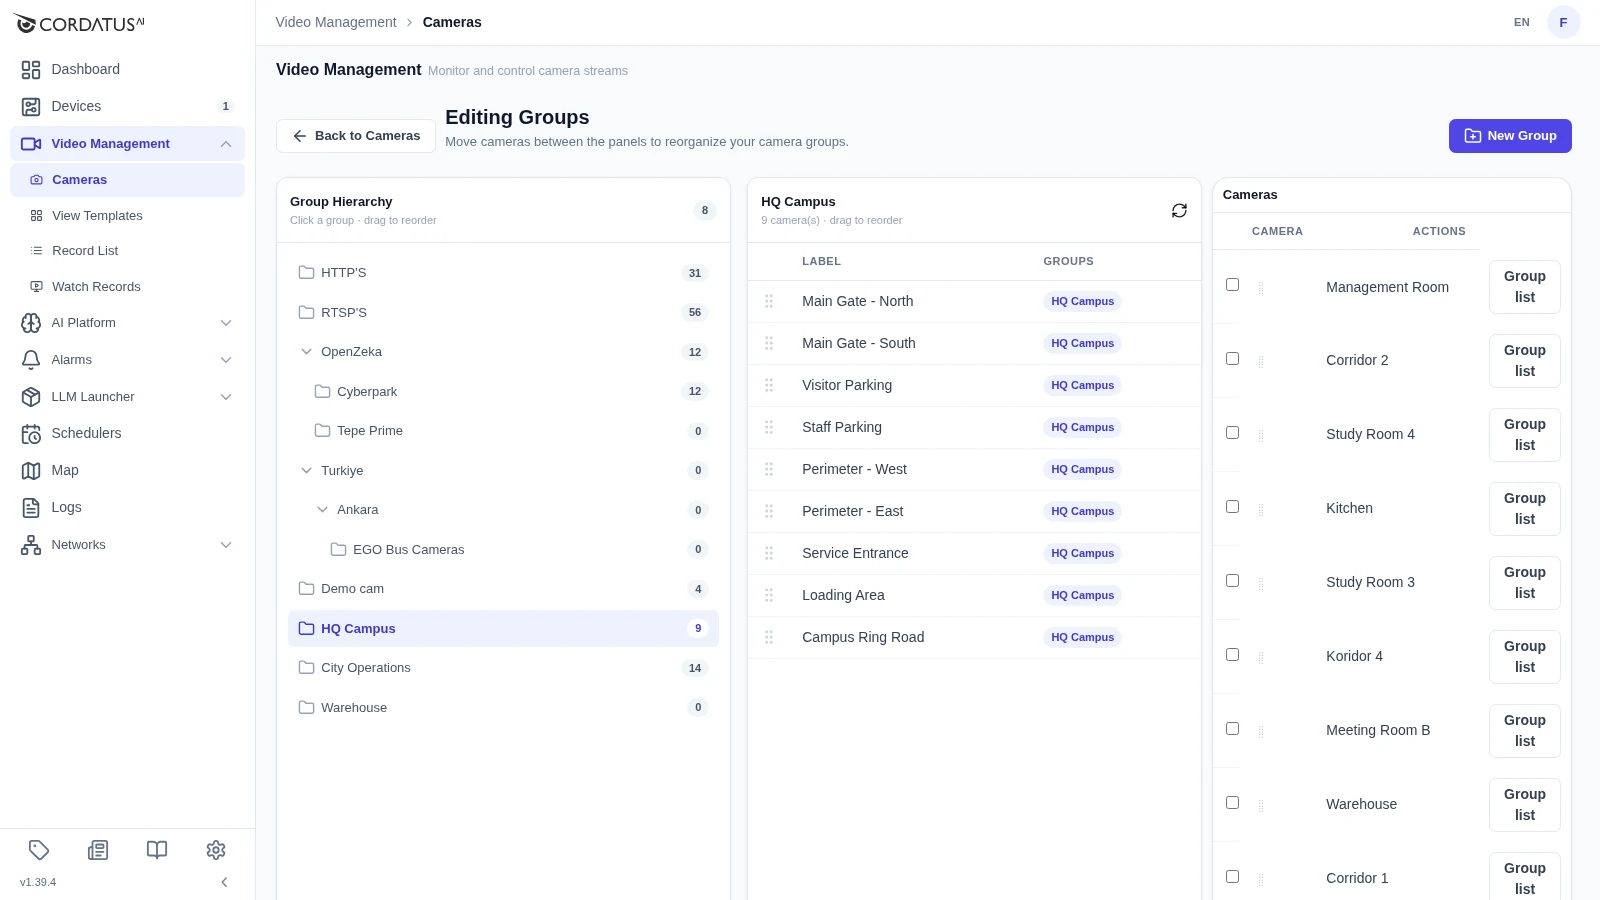
The group hierarchy itself can be reordered by dragging groups inside the Group Hierarchy panel. A New Group button in the top-right corner lets you create another group without leaving the screen.
Editing or Deleting a Group
Hover over a group in the Groups panel to reveal two icons:
- the gear icon opens the group's settings, where the name, description, parent group and tags can be changed;
- the trash icon deletes the group.
Delete the subgroups of a group before deleting the group itself. Deleting a group never deletes the cameras inside it — they simply become ungrouped.
Finding a Camera
- Use the search box above the camera list to filter by name.
- Select a group to narrow the list to that group.
- Change Rows per page at the bottom of the list when you work with a large estate.
Renaming a Camera
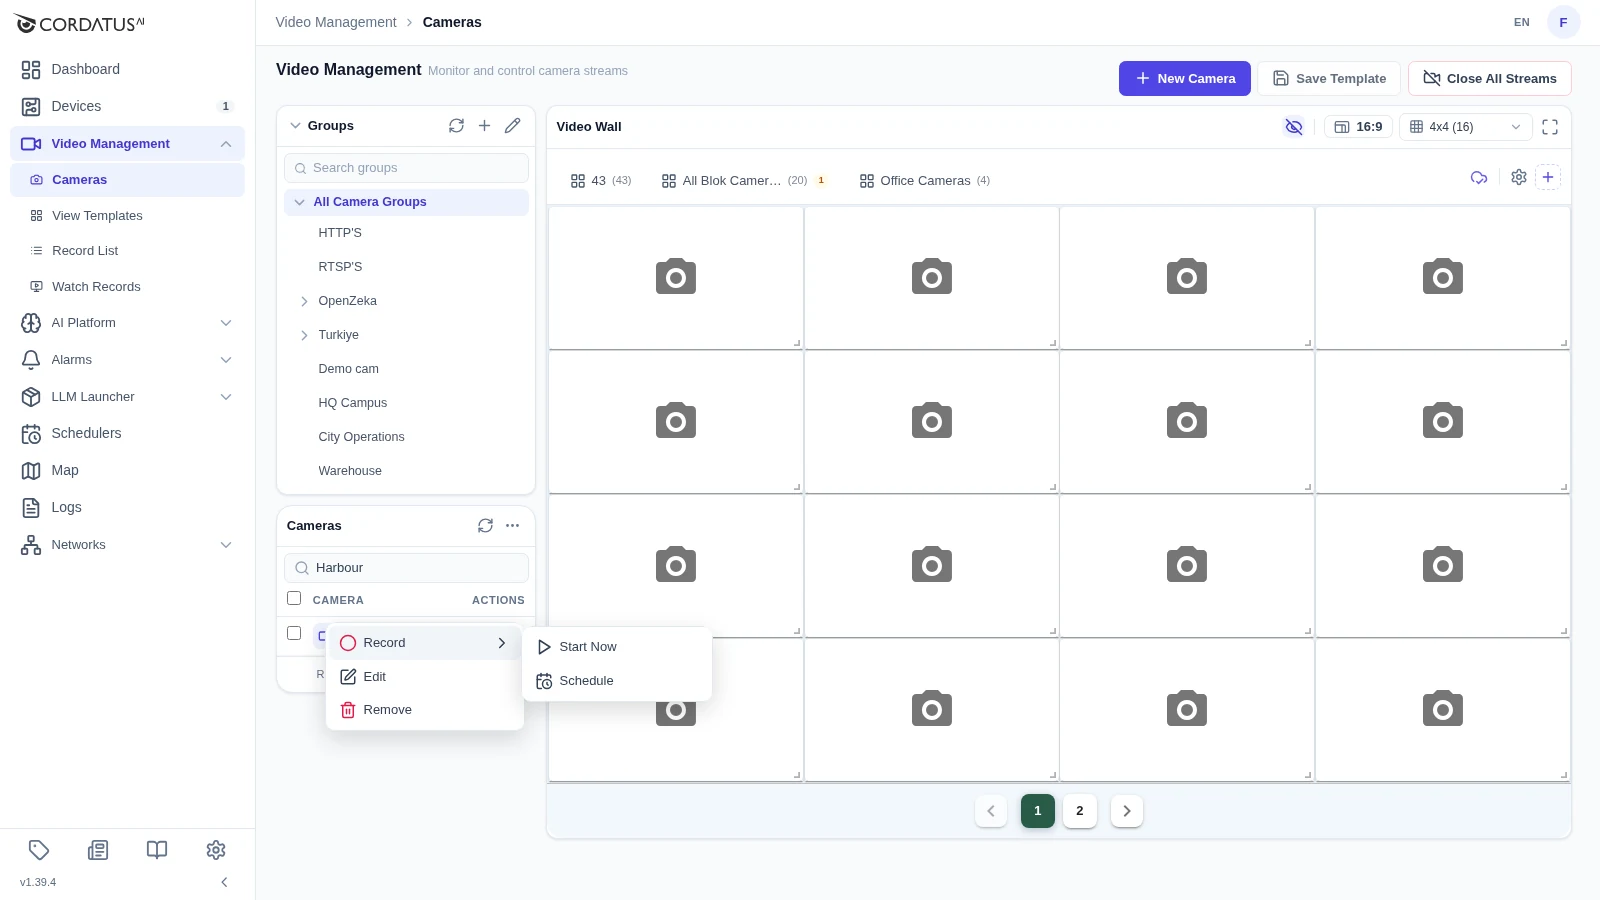
- Click the ⋯ button at the end of the camera's row.
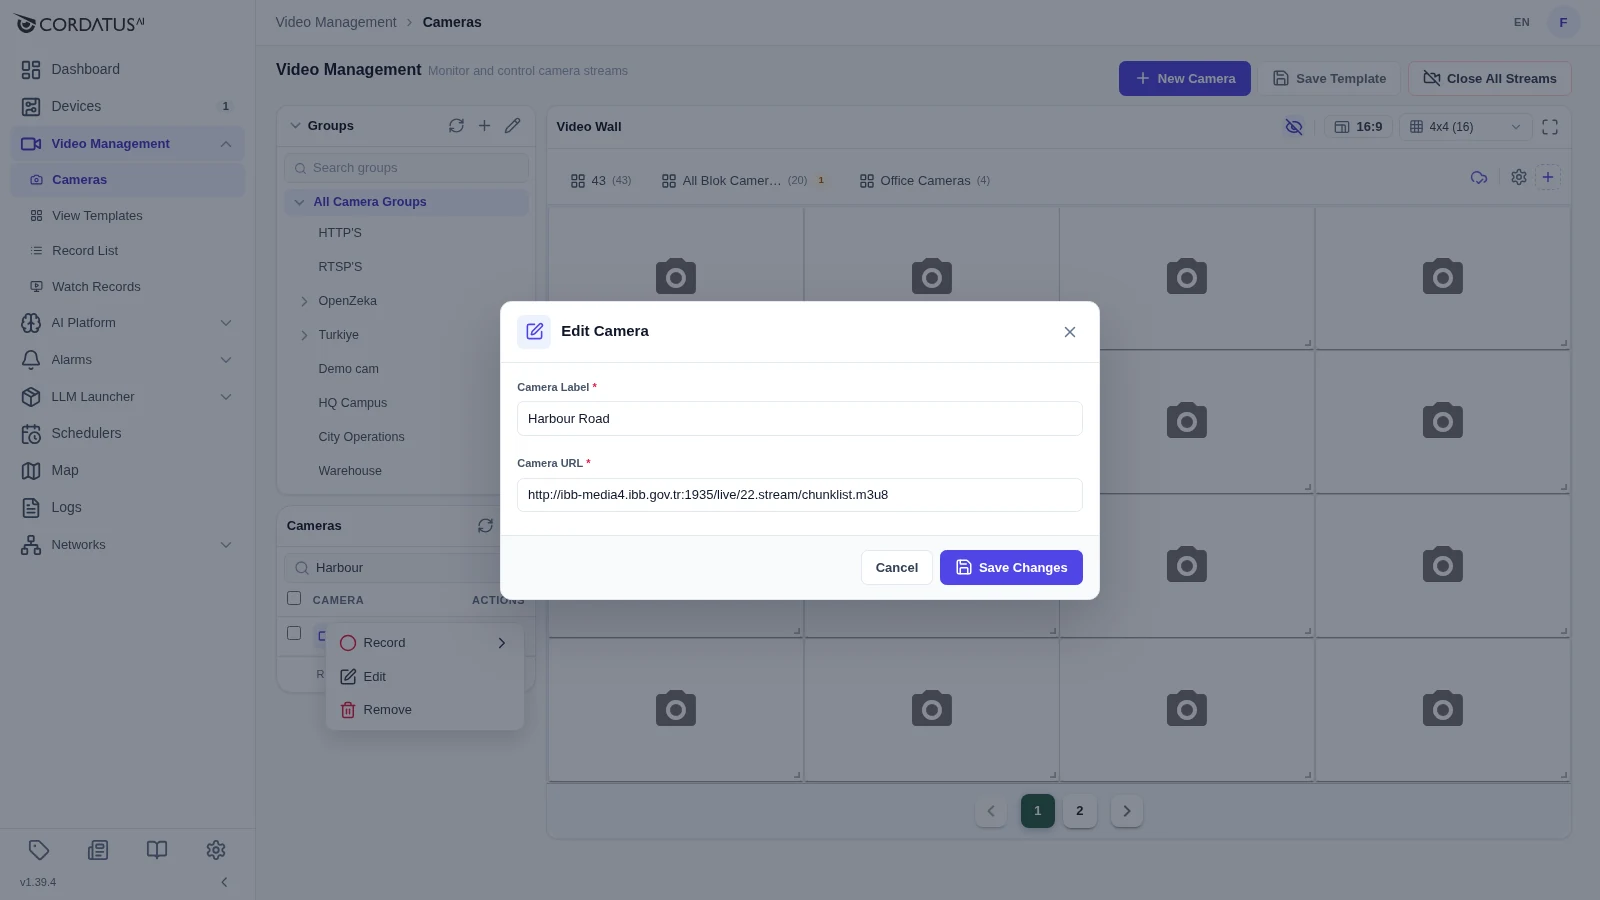
- Choose Edit.
- Change the Camera Label — and, for IP cameras, the Camera URL if the stream address changed.
- Click Save Changes.
Removing Cameras
A single camera
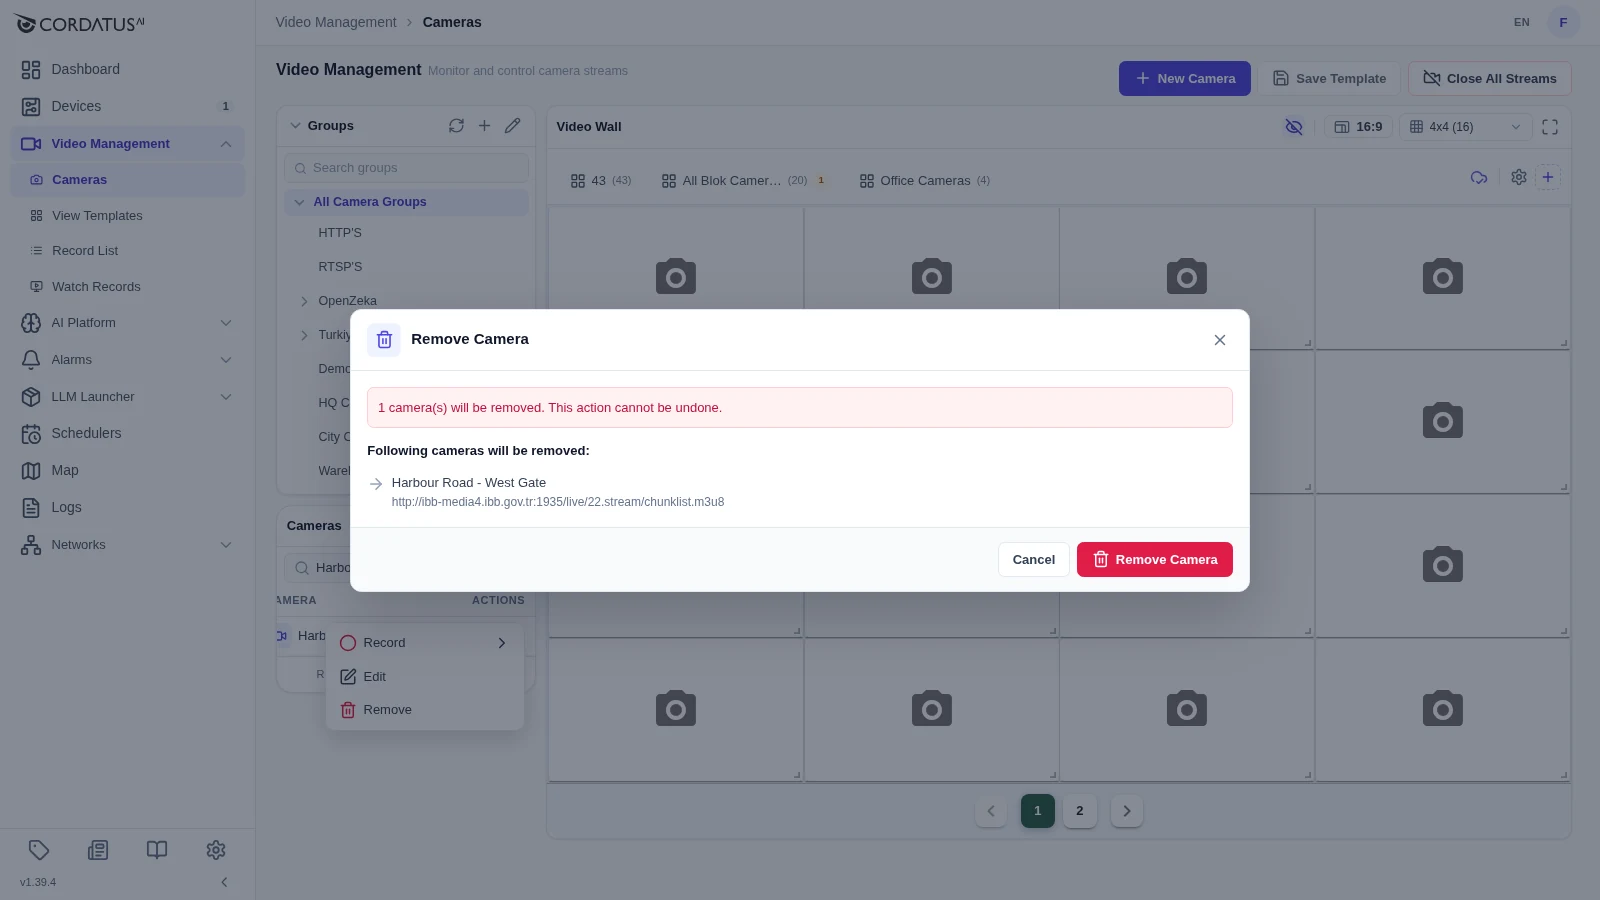
- Click the ⋯ button on the camera's row and choose Remove.
- The confirmation window lists the camera and its source address. Check it, then click Remove Camera.
Several cameras
- Tick the checkbox of each camera you want to delete.
- Click the ⋯ button in the camera list header.
- Choose Remove Cameras and confirm.
Removing a camera also removes it from every group and template it belongs to. Recordings that were already written to disk are not deleted with it.
Bulk Actions
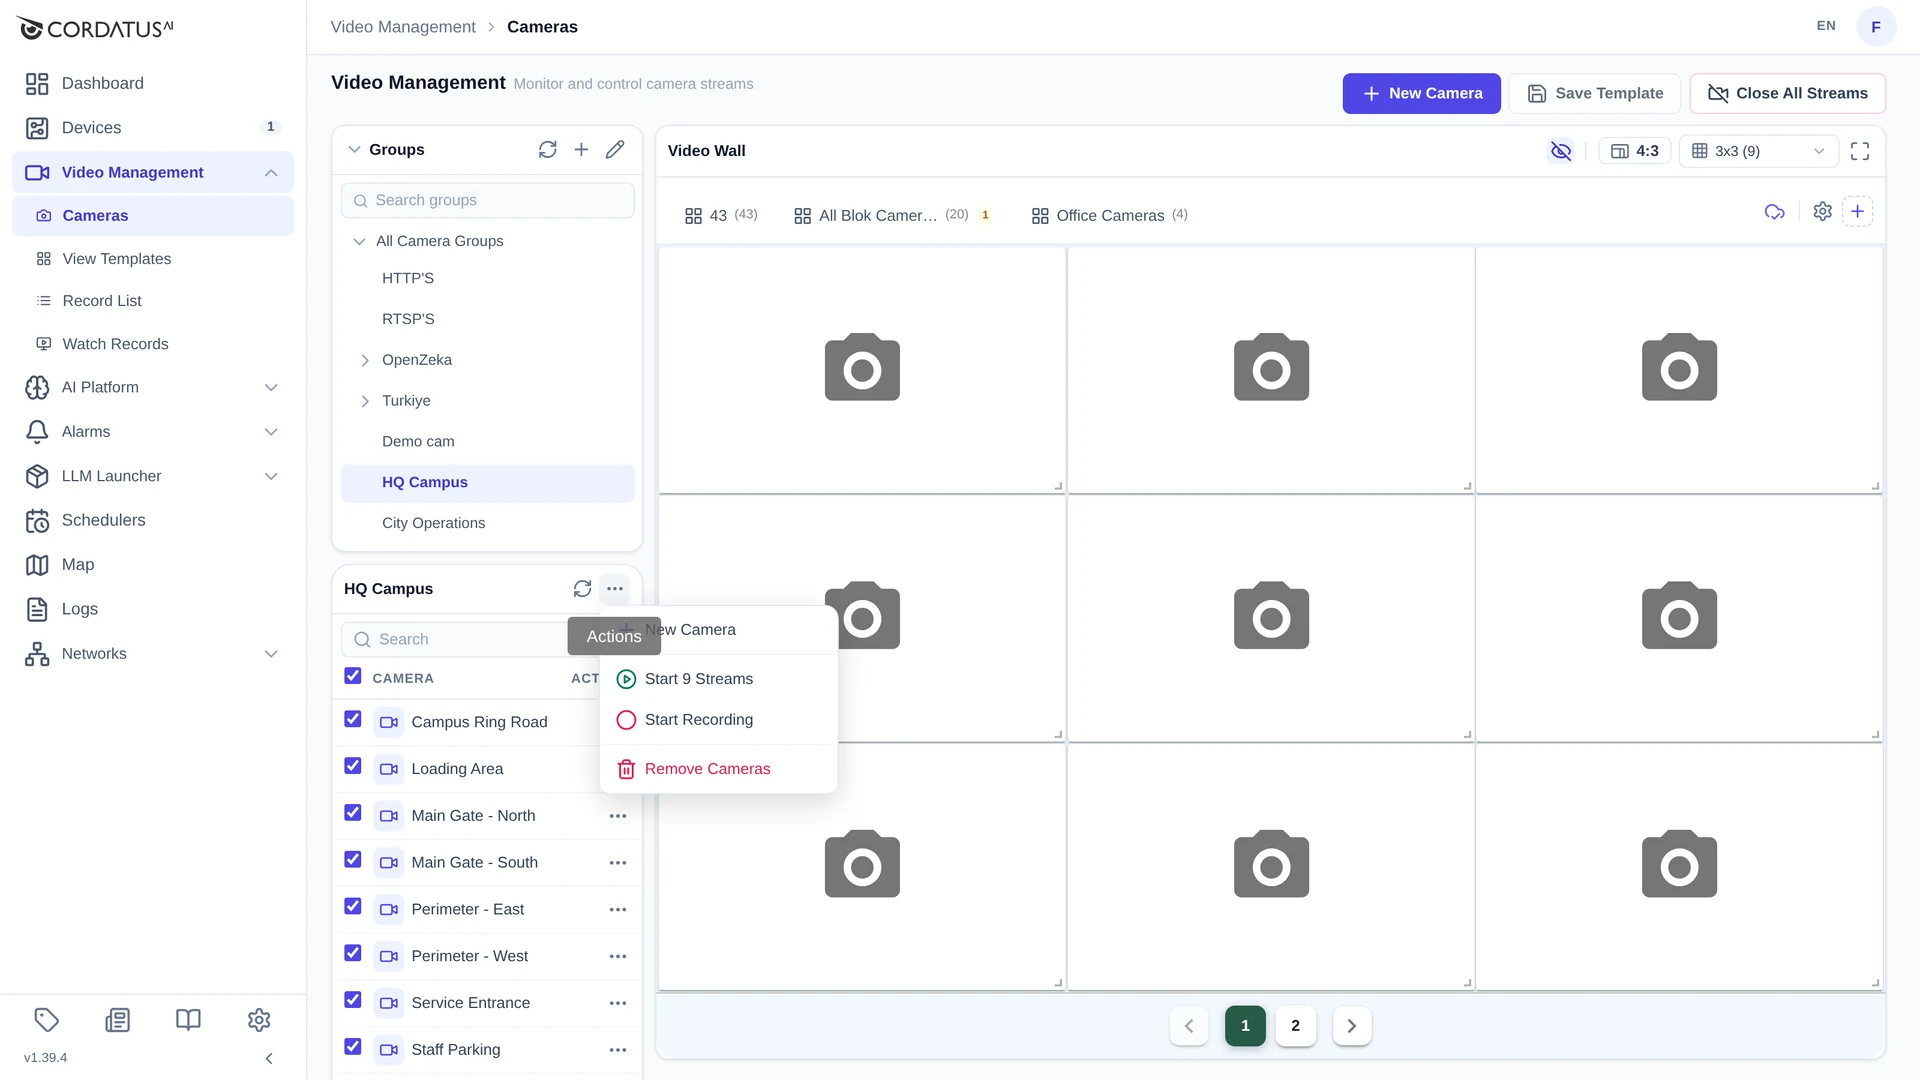
Whenever one or more cameras are selected, the ⋯ menu in the camera list header offers actions for the whole selection:
| Action | Description |
|---|---|
| Start N Streams | Opens every selected camera on the video wall after you pick a target device. |
| Start Recording | Starts a recording for every selected camera. See Recording Stream. |
| Remove Cameras | Deletes the selected cameras after a confirmation. |
Camera Settings on the Client
The Cordatus Client manages the cameras that were added from the Client itself. There you can play a camera, delete it from the Actions column, and adjust stream quality for USB/CSI cameras. Cameras added from the Web App stay under Web App control.